Photoshop is used by graphic designers and photographers alike. One of the most popular techniques of Photoshop is airbrushing. You can see airbrushing used everyday in magazines as well as in photography and on the Internet for certain advertising campaigns.
Creating perfect porcelain skin on everyday photos is an easy with Photoshop. In this tutorial you will learn how to easily and quickly create that airbrushed photo effect on your portraits.
Keep in mind that there are many different ways to create the airbrushed skin effect in Photoshop this is only one of them.
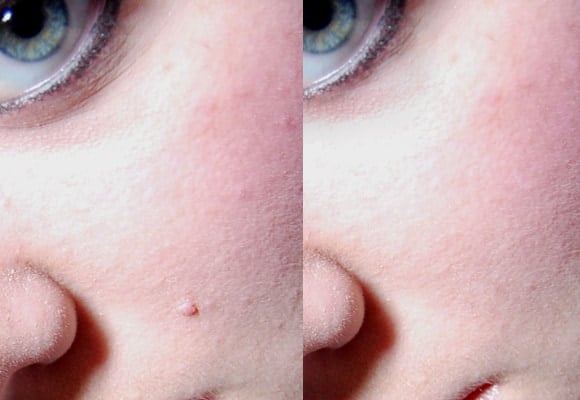
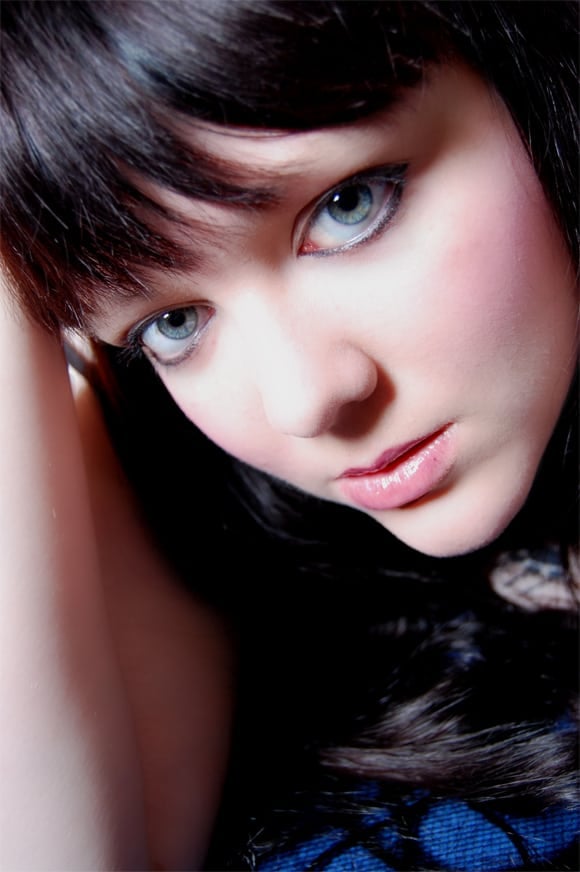
Before and after results.

The photo we used was a stock photo from stock.xchng. You can download the photo here .

Once you have you photo opened in Photoshop select the Healing Brush tool. The healing brush tool is great for masking under eye circles, acne, moles, age spots and scars. I used a size 19 brush with 75% hardness. Alt + click an area close or near to where you want to cover up and then paint over the blemish. I used the healing brush on the models’ mole, cheeks as well as underneath the eye.
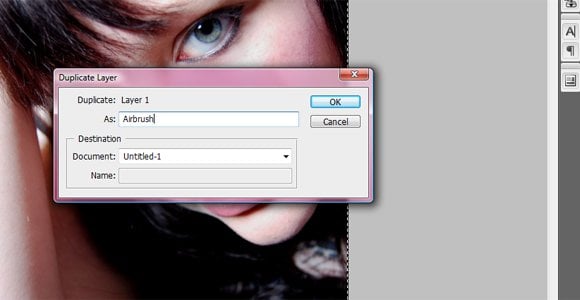
Next, go to Layer > Duplicate Layer and name the layer Airbrush.
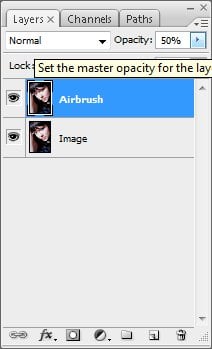
Set the Airbrush layer opacity to 50%
Now we’re going to blur the top layer to get that porcelain skin effect. You should zoom in pretty close to the skin so you can see the details. Filter > Blur > Surface Blur. You still want to see the details of the skin such as fine hair and some pores but you want to get a really creamy texture for the skin. The settings used for this photo were Radius: 25 pixels and Threshold: 30 levels.

We don’t want the surface blur effecting anything but the skin in the photo so we’re going to paint only the skin. Go to Layer > Layer Mask > Hide All. With your layer mask selected you’re going to paint over all of the visible areas of skin. I chose to use a smaller size brush with 75% hardness.
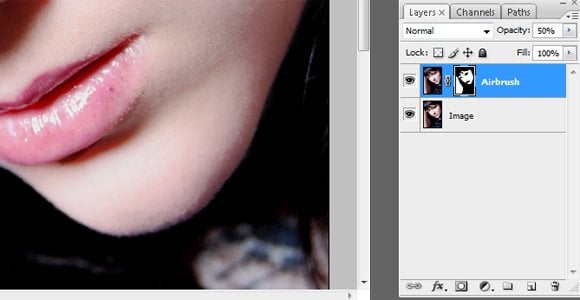
The end result should be a portrait of our model with perfect, porcelain skin.


Hi there, thanks a million for this informative tutorial. The tutorial helped me improving my skills a little bit more. It is ever great to get some formidable inspiration and I hope to find more of such articles here the next time because no one will ever stop learning new things. Go ahead
Wow, other tutorials were so hard to follow for me,
and I could never get this right, then I came across
yours and it really helped, my picture looks great!
Thanks:)
Thanks for the info. Selecting the skin is a long process, but the effects are worth it. Thanks again!
this has been very helpful but im a bit stuck on the painting part ive got the layer mask and everything but it doesnt paint anything on my photo. not sure what i am doing wrong?
I am following these instructions and everything goes fine, until I try the paint over bit at the end. Nothing happens and the picture doesn't change. why is this? Thanks 🙂
The same thing happens for me, it all goes fine until I start painting over the skin, it doesn’t make it airbrushed at all 🙁 Please help!
you need to be using a white brush
This is a great tutorial, quick and easy to follow, with fantastic results, thank you!